Sometimes if an event will take place or not may depend upon whether you can generate enough interest in advance from attendees. This is especially true now while we adapt to the restrictions around gatherings and people's calendars are so up in the air.
The Seatrobot Waitlist Feature allows you to create an event, invite attendees as you normally would, but to make clear that the event's taking place is predicated on a certain level of response.
To do this, send all invitees a regular invite with an 'Accept / Decline' option, making clear that this is only a potential event and that all 'Accepts' will be Waitlisted until the event is confirmed - at which point they will be automatically registered and receive confirmations.
Inside Seatrobot, all such guests appear as 'Waitlisted' in your guest list and can be tracked and communicated with separately until you are ready to confirm the event and the, in a group or one-by-one.
To use Waitlisting in this way, do the following:
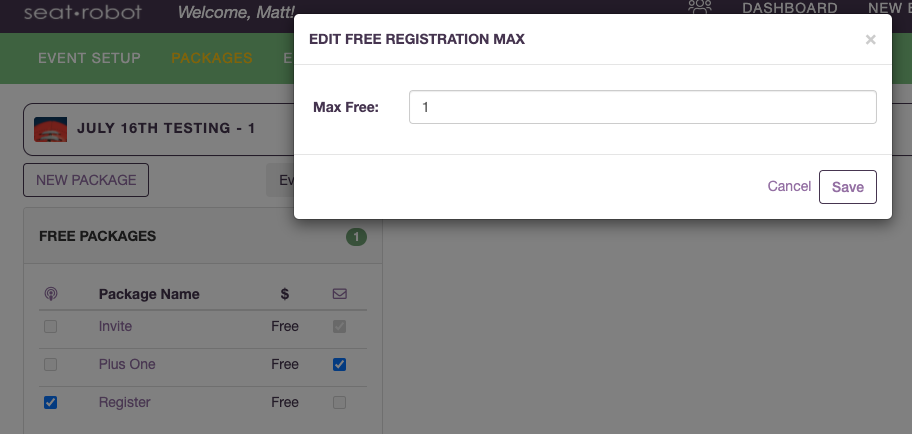
- Create your event as normal. Then go to Packages and click the green Free Packages total badge to set your ‘Free Packages’ max level to '1'. (This kicks in the Waitlist feature as a default to every RSVP after the first).
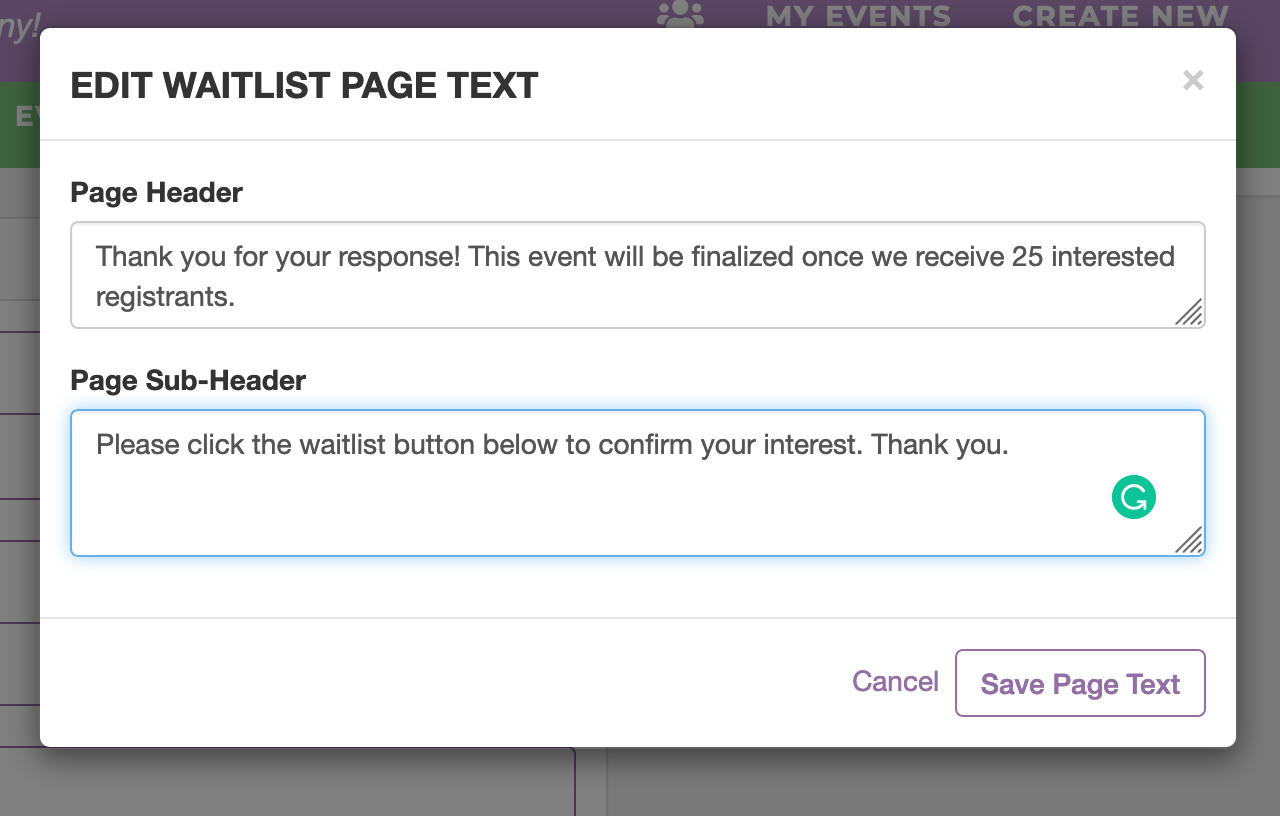
- Select the 'Edit Waitlist Page Text' button to modify the message that guests see when they Accept an invite to the event or when they attempt to register online.
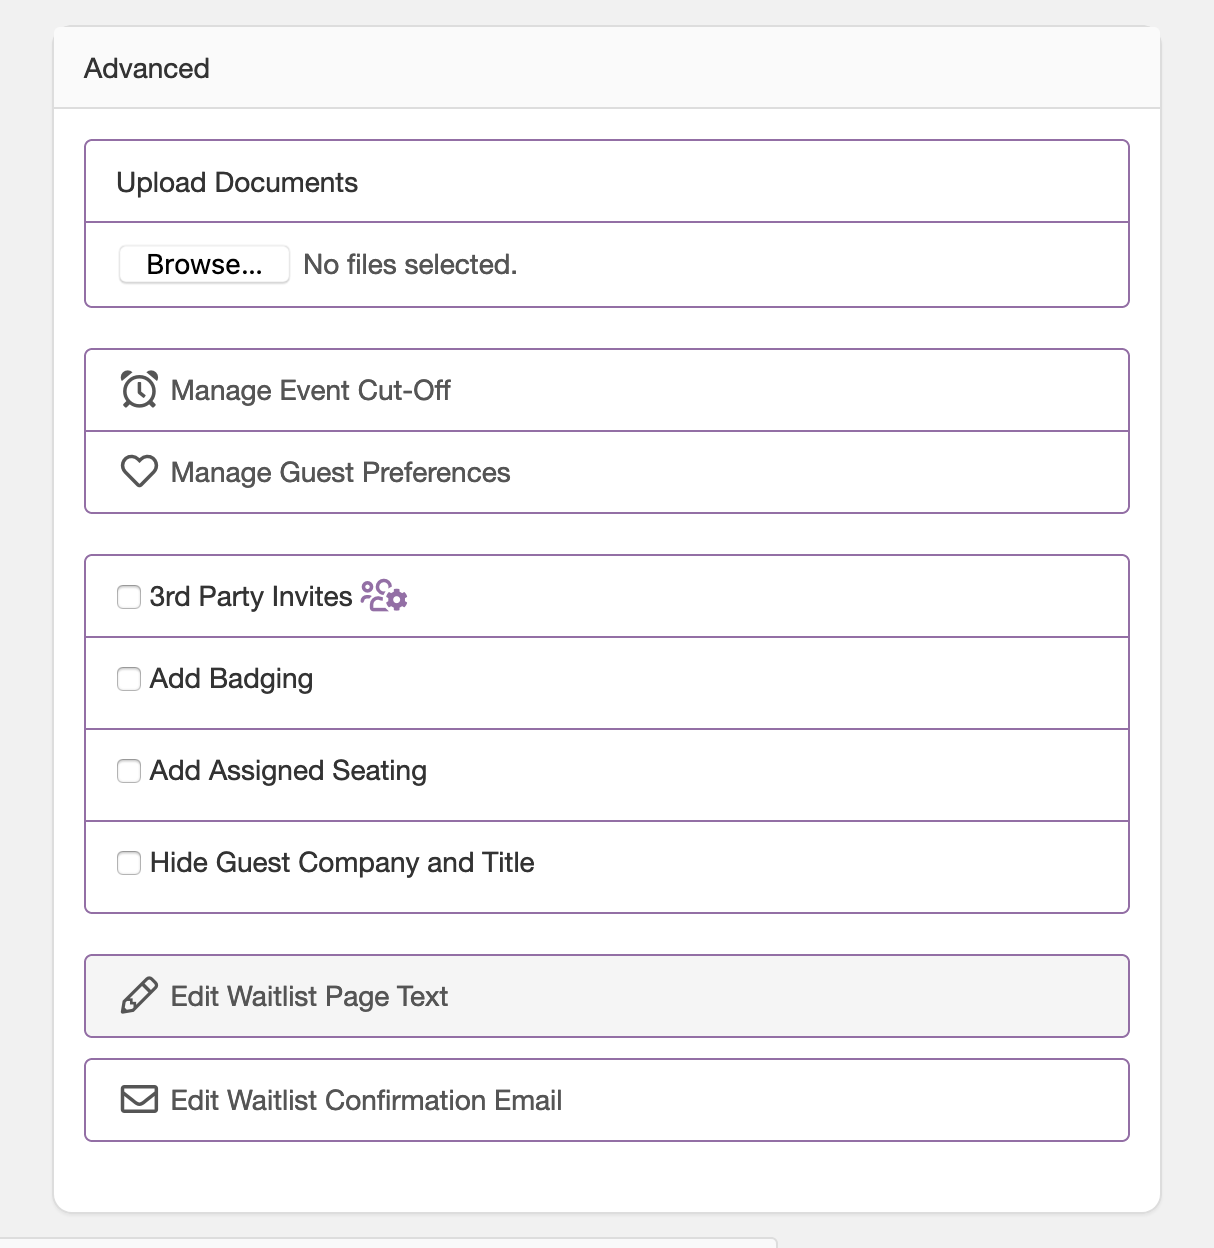
- Select the 'Edit Waitlist Confirmation Email' button to customize the automatic email any waitlisted guests will receive immediately after adding themselves to your waitlist.
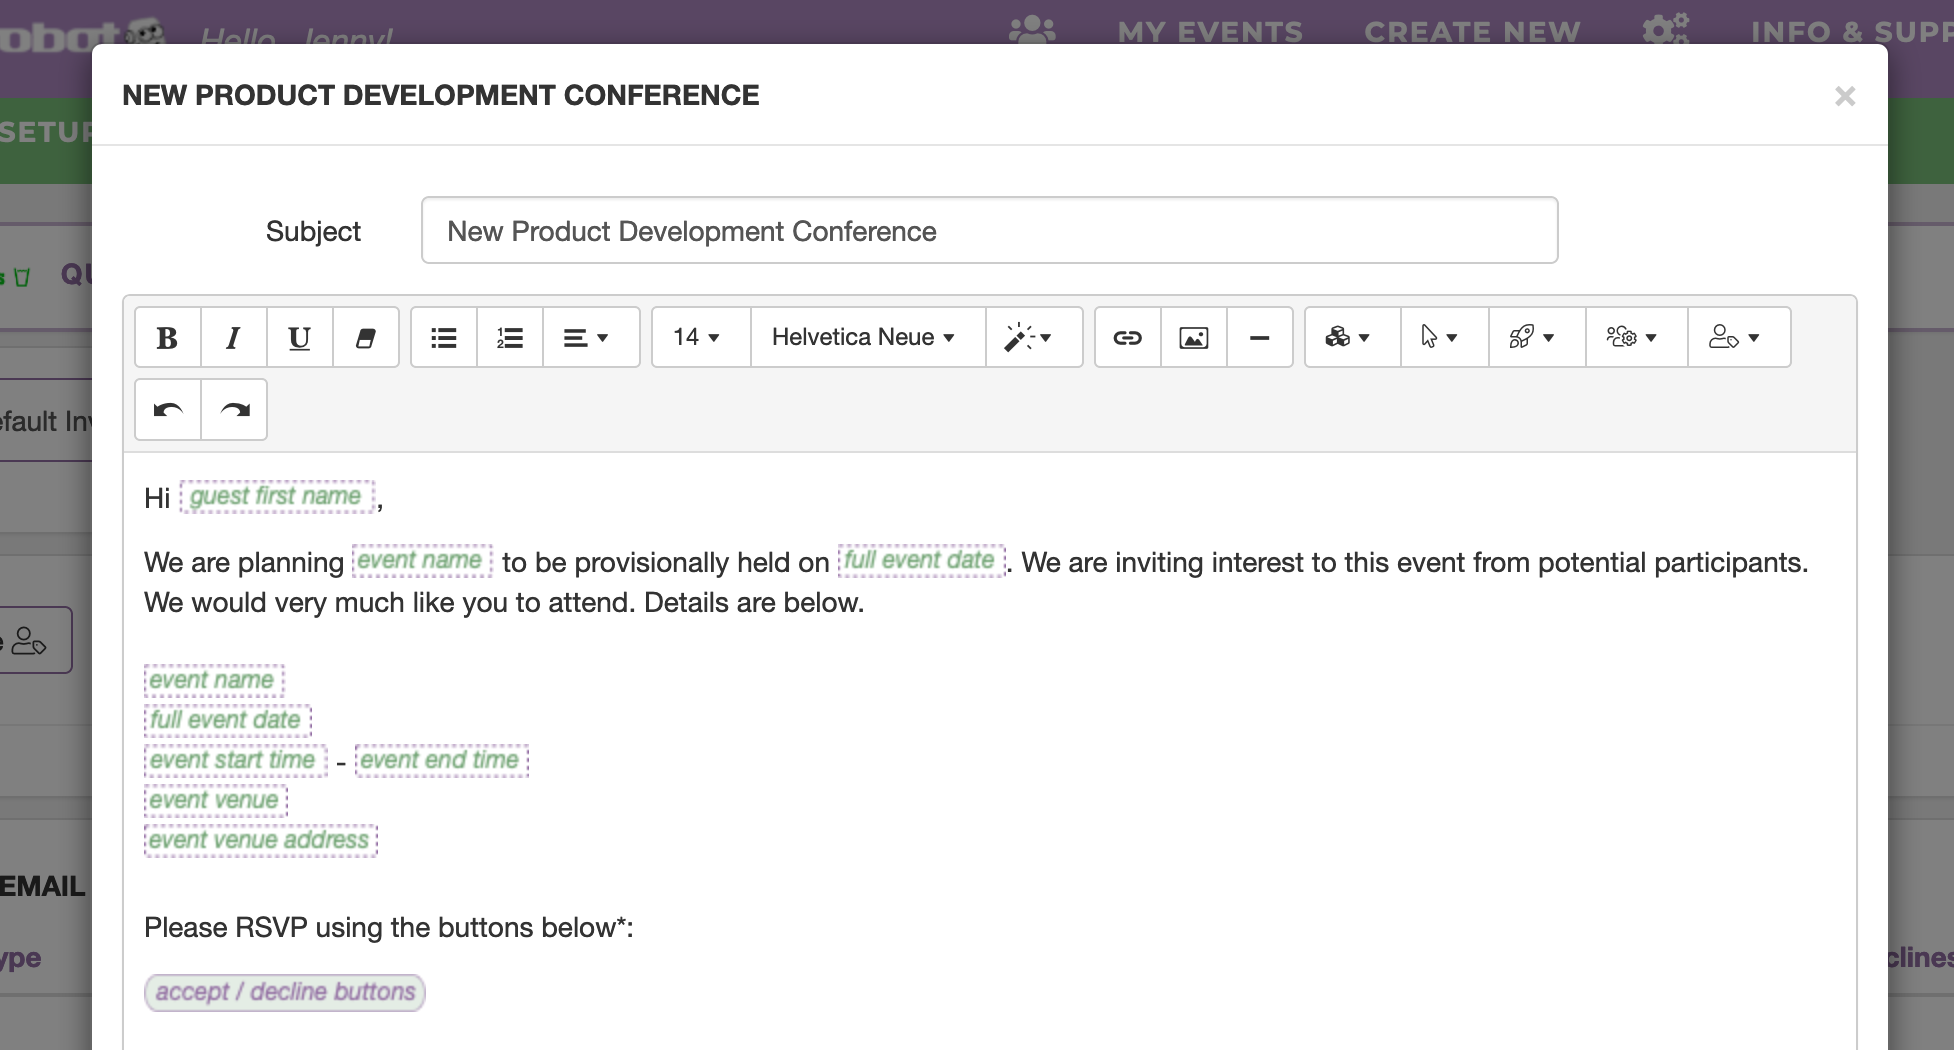
- In 'Emails' Select the 'Default Invite' button to edit the default invite to explain that the event will go ahead once enough people confirm.
- Finally, send yourself an invite to the event and confirm it; this will take the guest count to '1', and kick in the automatic Waitlist Feature for all future respondents.
Now, whenever someone attempts to register for your event, they have the option instead to be put onto the waitlist. In your event Guest List all waitlisted guests are colored blue and sortable via the Status Filters.
In this way you can generate a very accurate list of specific individuals who would attend your event. As soon as you feel your event has enough interest to be confirmed, you can turn any or all of your waitlisted guests into confirmed guests:
- In Guest List, select the guest by clicking the checkbox to the left of their row.
- Click the Green Accept ‘checkmark’ button in the button row
- All guests confirmed in this way will automatically receive your event's Default Confirmation email.
Note: This waitlist management feature ("Will attend? If Yes, then go on the Waitlist") is recommended over options in certain other platforms such as offering guests a third 'I'm Interested' option in their initial invite. To generate an accurate measurement of interest in your event, an event manager needs to know who definitely would attend. This is only achieved by offering a binary 'Yes' or 'No' choice. Statistically, offering your guests a third 'Maybe' option delivers a large number of non-committal 'Maybe' responses, many of which do not ultimately result in attendance. 'Maybe' replies also do not give you permission to automatically register guests when you decide to confirm your event.