- What are filters for?
- How do I create a filter-group?
- How do I add filters to a group?
- How do I apply filters to an event?
What are filters for?
Filters are like tags you can apply to your events to assign qualities or groupings to them. You create groups or types of filters ('Filter Groups') and then add different filters to those groups to assign to your events.
For example, your organization might regularly organize events based around different general subjects - let's say you're a bank who organizes educational events for customers. Perhaps the different areas your events cover are Investing, Foreign Currency, Real Estate, and Saving. You could create a Filter Group called 'Topics' and a Filter for each topic. Then you could apply one of those topic filters to each event you create.
These Filters can then be used to sort the display of your events in your events page, displaying only the events you select via the Filters assigned to them.
Or, you could create a Filter Group of 'Event Managers' for the key individuals in your organization who create events. They could then apply their own Filter to each event they create and use this filtering to view only their events on the Events page.
Filters and Seatrobot API
Filters really become powerful however when you access Seatrobot's API to customize how your events display and interact with customers on your events website or online integration.
Via the Seatrobot API, the Filter Groups and Filters you create and assign to your events can be used to create filters, search results, drop-downs, groupings and instructions for your website(s). You can even create Filter Groups to represent different web sites, locations or departments and have the events you create inside your Seatrobot platform appear or not automatically throughout your own online infrastructure.
In fact, the Filter Groups you create and the Filters you apply to your events can be made to represent almost any action you require when configuring your Seatrobot API integration.
How do I create a Filter Group?
To create a new Filter Group, go to the Org Admin section of your account (accessed via the icon in the purple navbar). From the green navbar menu select 'Manage Filters'.
Then click the 'Add Filter Group' button to display the Add Filter Group modal and input the name of the Filter Group you want to create.
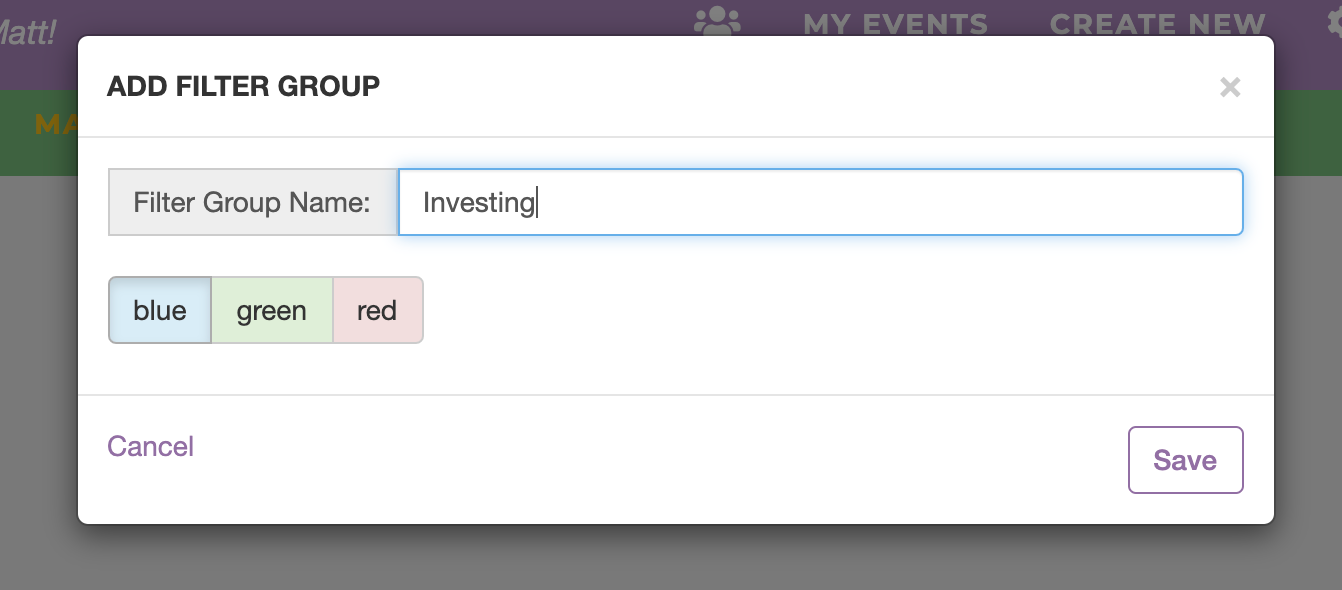
You can select which color you would like every Filter in this Group to display with, for easier identification. When using the base platform, you can add up to three different Filter Groups.
The Filter Groups you create will appear on your Manage Filters page, ready for you to add Filters to them.

You can edit the name of any Filter Group by clicking on its name at the top of its column.
How do I add filters to a group?
To add a new Filter to any existing Filter Group, click the Add Filter button at the top of the group to display the Add Filter modal:
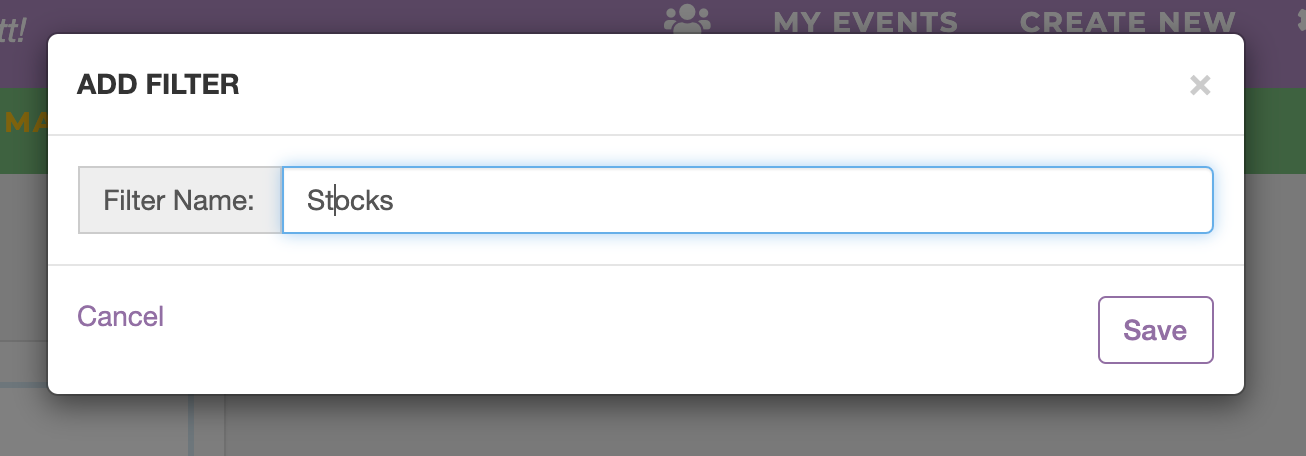
Add the name of your Filter and click Save. The Filter will appear under your Filter Group.
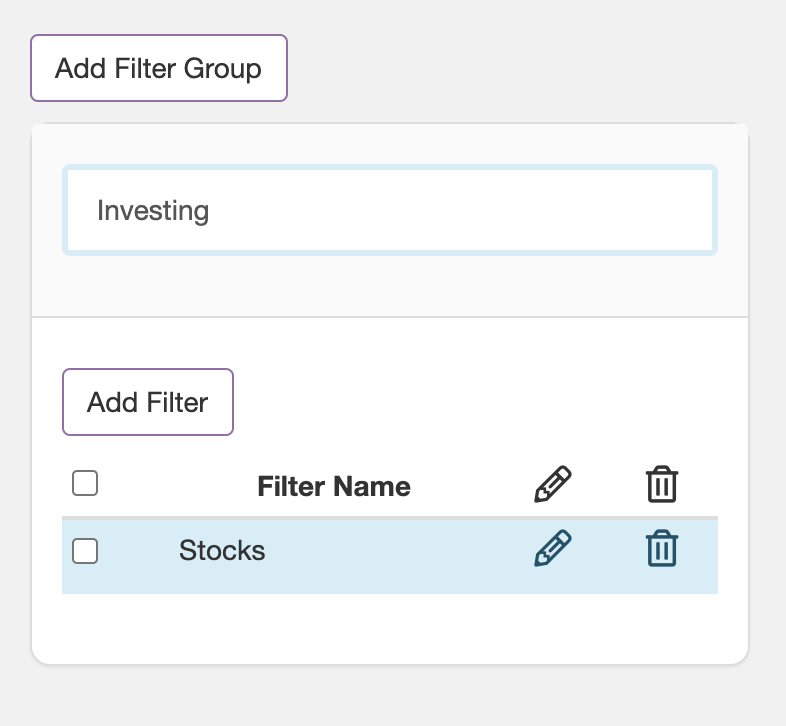
Note: To make your Filters appear in your Event Info page for adding to events, you must 'activate' them by checking the box to their left in the Filter Group. By default this box is NOT checked, so that you can create and edit your Filters before making them available for use.
To edit the name of a filter, click on the pencil icon in the Filter row.
To delete a filter, click on the trash can icon in the Filter row. Remember - any Filters you delete which have already been assigned to events will also be deleted from those events.
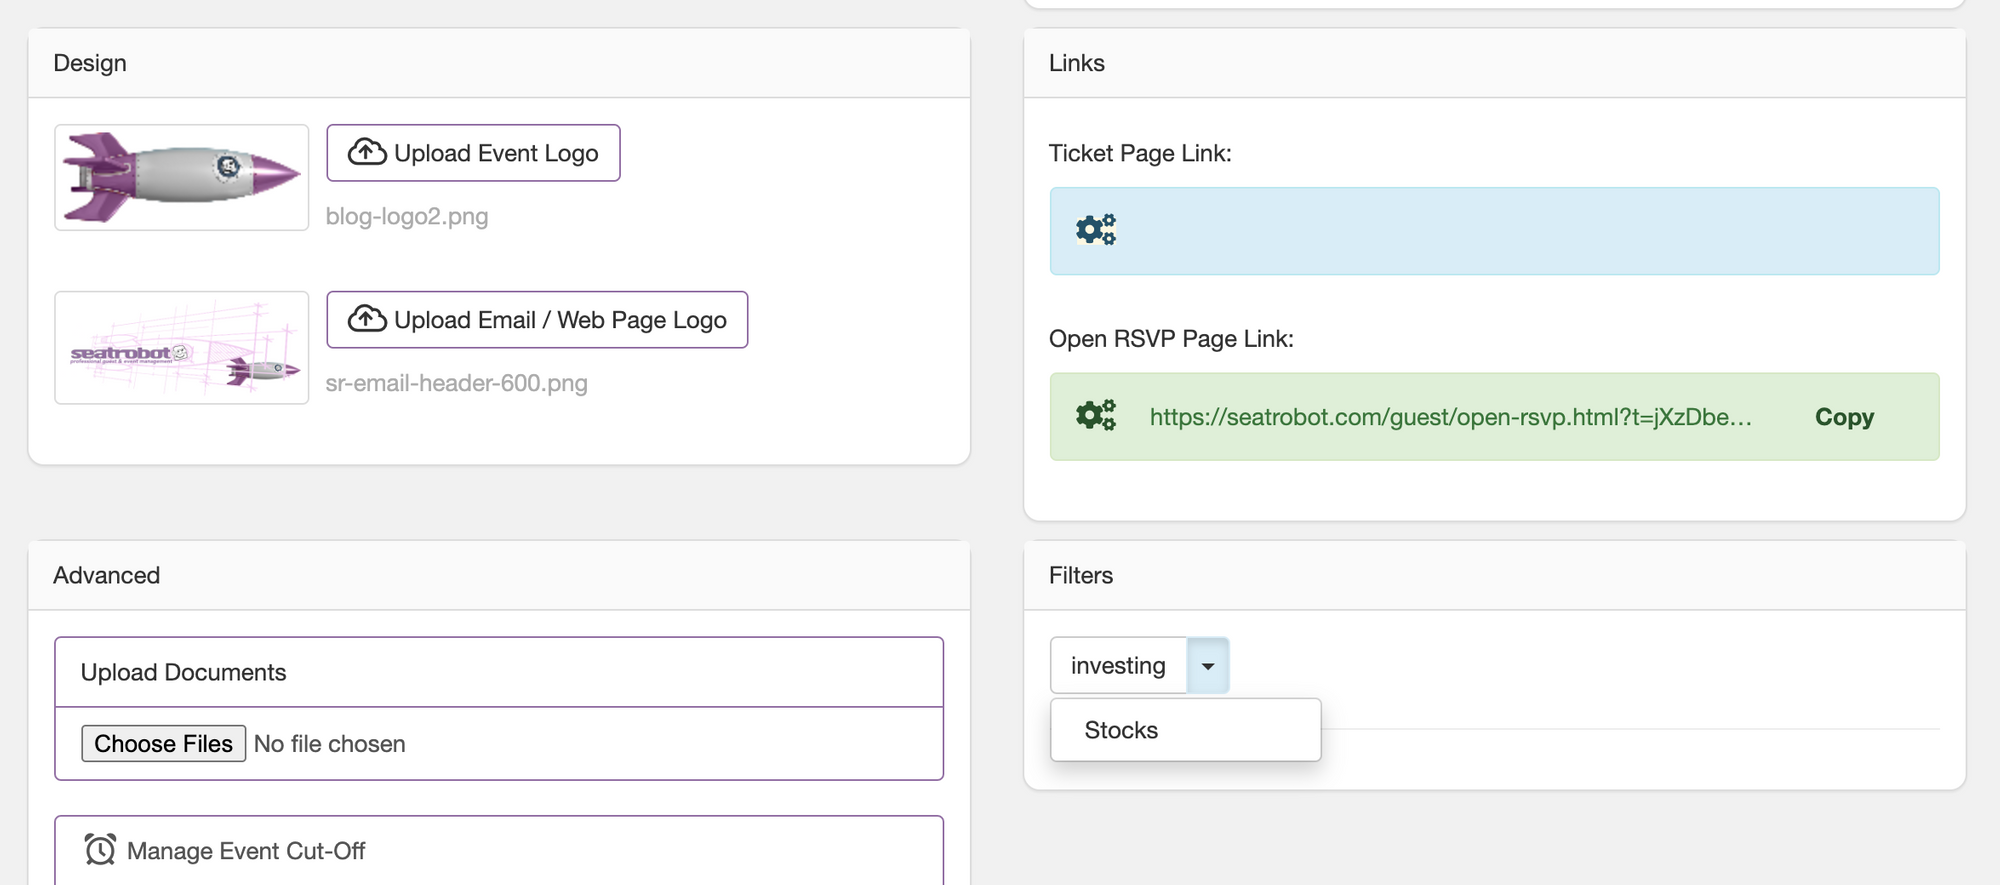
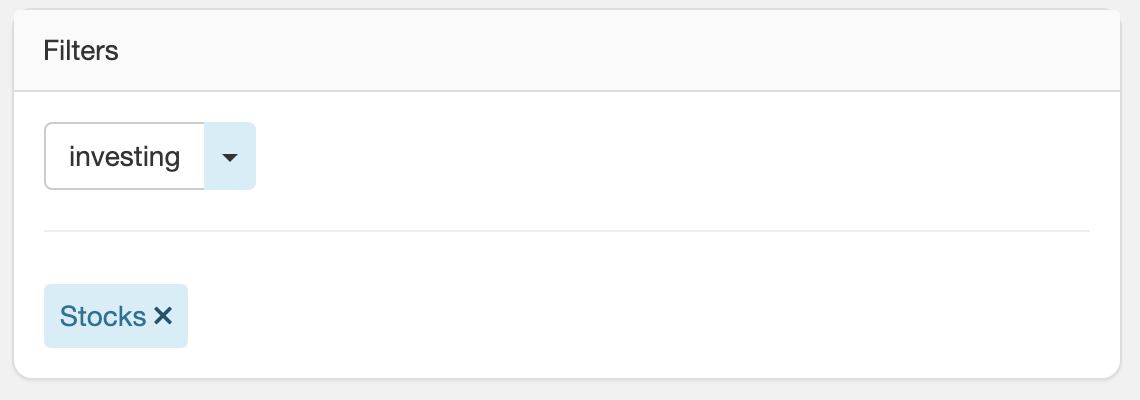
How do I assign Filters to an event?
You can assign Filters to any event via the Event Info page for that event. Once you create any Filter in a Group and activate it, your Filter Group(s) will appear in the Filters panel. Click on any Filter Group button.