- Can I copy an existing event?
- When I copy an event, what event data gets copied to the new event?
- How do I change the names / dates that Seatrobot gives my copied events?
- How do I create recurrent events?
- What are linked events?
- How do I link and unlink events?
- Can I delete events I've created?
- I deleted an event by mistake - can I restore it?
Can I copy an existing event?
You can create new events from existing events by creating copies. To copy any event, go to the My Events page and click the icon on the same row as the event you're copying. This will open the Copy Event modal.

When you copy an event you have three options. All options can create either individual (stand-alone) or linked copies:
- Create Multiple Single Copies: select this option and enter the number of copies you wish to create. This will create up to ten exact copies of the event. Seatrobot will give your copies the same name as the original event, with a number appended (e.g. -1, -2 etc.)
- Create Single Copy With Date: select this option and enter the date of the new event. This will create one copy of the original event, the same in all details except the event date. Seatrobot will give the copy the same name as the original event, with the new date appended to the title.
- Create Multiple Copies By Schedule: select this option, select the time gap between each copy (day, week, or month) and enter the number of events you wish to create. This will create multiple copies of the original event, the same in all details except the event dates, all separated by date according to the time gap you chose. Seatrobot will give the copies the same name as the original event, with the relevant date appended to each title.
When I copy an event, what event data gets copied to the new event?
When you copy an event Seatrobot copies all the data of the event details you created in the original event: this includes all the information you entered on the Event Info page (title, date (unless changed by you during copying), event manager, event description etc.). It copies the content of any emails you edited and any Seating Packages you created.
Event copies do not copy activity within your events - e.g. any guest data or sent email history etc.
Note: event copies do NOT copy online event login details (these will necessarily be different for each event) and any Guest Users given permission to the original event will not have their access permissions copied to the new events.
How do I change the names / dates that Seatrobot gives my copied events?
To change the name of an existing event from the My Events page, click on the icon necxt to the event name. This will display the Event Name Change modal
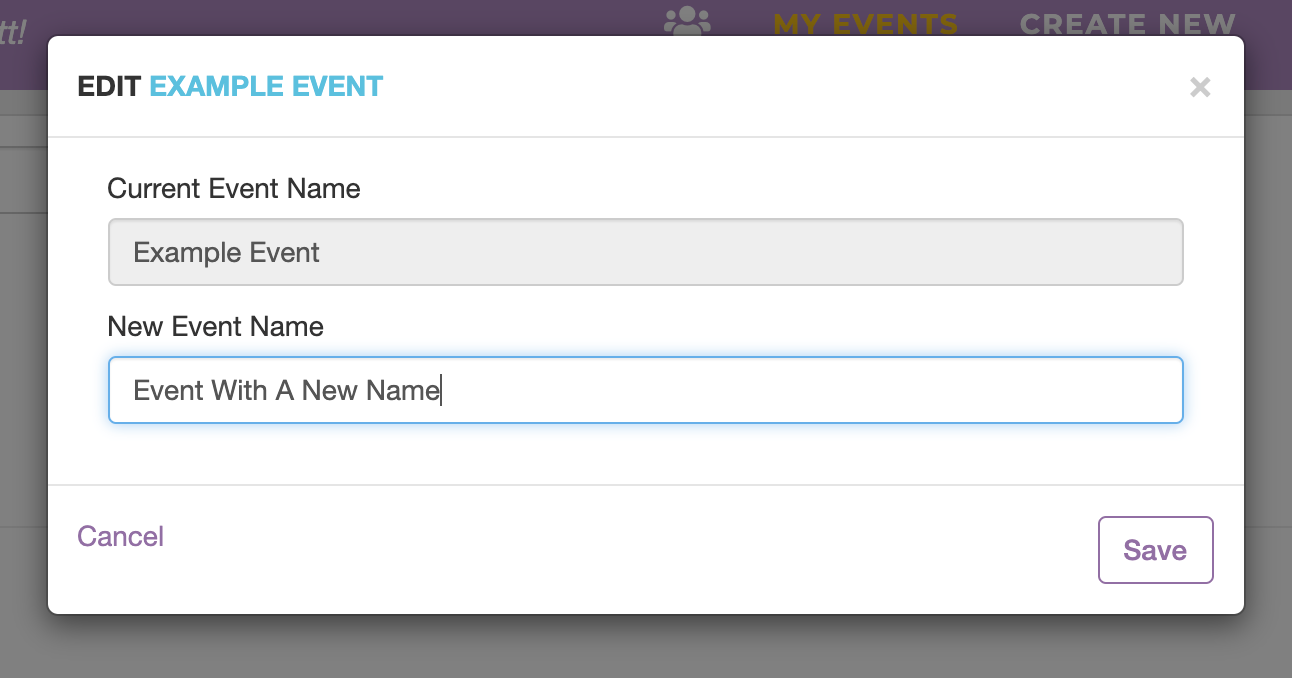
Click Save.
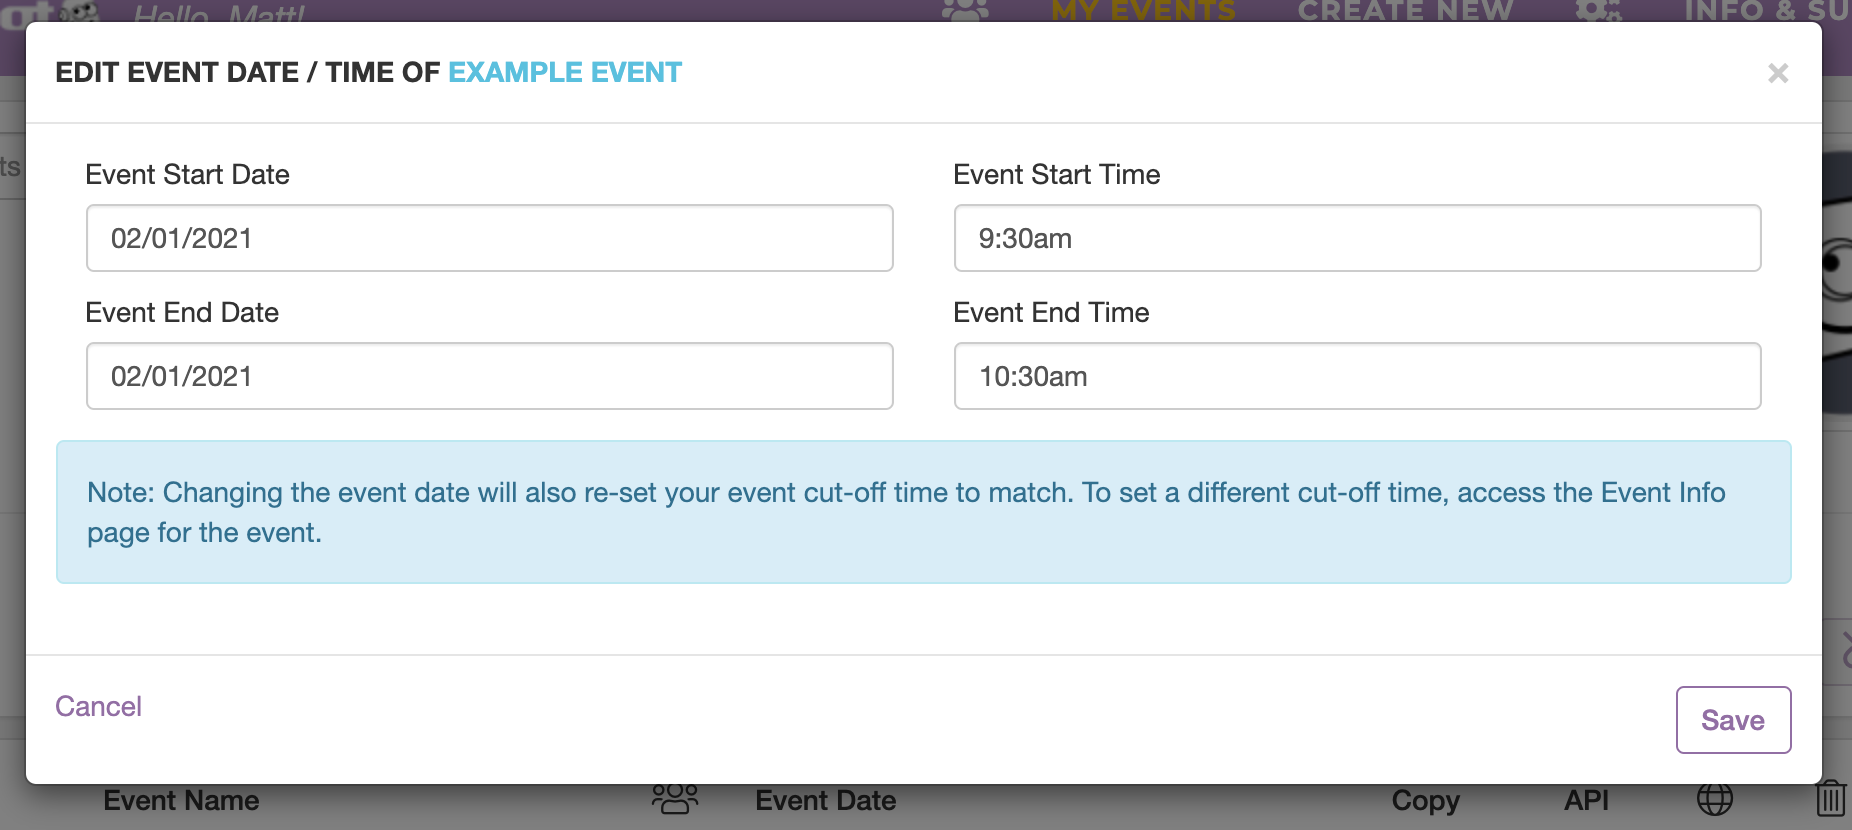
You can also change the date of any event using a similar method. This time, click the edit icon next to the event date, to display the Event Date Change Modal
How do I create recurrent events?
Sometimes you may have an event that repeats regularly, e.g. a weekly meeting, or a regular class. You can create these kinds of recurrent events by creating the first event and then creating scheduled copies.
Start by creating your first event, as normal. This will be the template event for all the others in the series. Click on the icon to open the Event Copy modal and select 'Create Multiple Copies By Schedule'.
Then, select the time gap between each copy (day, week, or month) and enter the number of events you wish to create. This will create multiple copies of the original event, the same in all details except the event dates, all separated by date according to the time gap you chose. Seatrobot will give the copies the same name as the original event, with the relevant date appended to each title.
What are linked events?
Linking events together makes them appear on each other's registration pages (Open Registration or Tickets pages).
The point of linking events is to present to your guests other events they may want to register for, while they register for an event. The linked events display as teasers with a registration link on the registration page of each linked event. You can see an example here.
A good use would be recurrent events; if you have a regular weekly event, your guests may want to be able to sign up for one or more of the future events from the original event's registration page.
But linking does not only have to apply to recurrent events. You can link any events in your My Events page and get the same result. You may wish to link certain types of events in your list - events you think might be linked by interest, for example.
If you are implementing Event Filters, you may wish to sort your My Events page by a certain Filter and then link all events assigned that Filter. This will present registration links to all events with that Filter on all the registration pages for those events.
When accessed via the Seatrobot API, this combination of filters and links can create very powerful results for your customers accessing your Seatrobot events integration.
How do I link / unlink events?
You can link events in two ways; a) by selecting the 'as linked events' option when creating copies of an existing event or b) by selecting any events using the checkboxes in their row and then clicking the link (paperclip icon) button.
Creating linked copies automatically links all the copies you create and assigns them a Link Group Number with a paperclip icon (same as linking guests on an event Guest List).
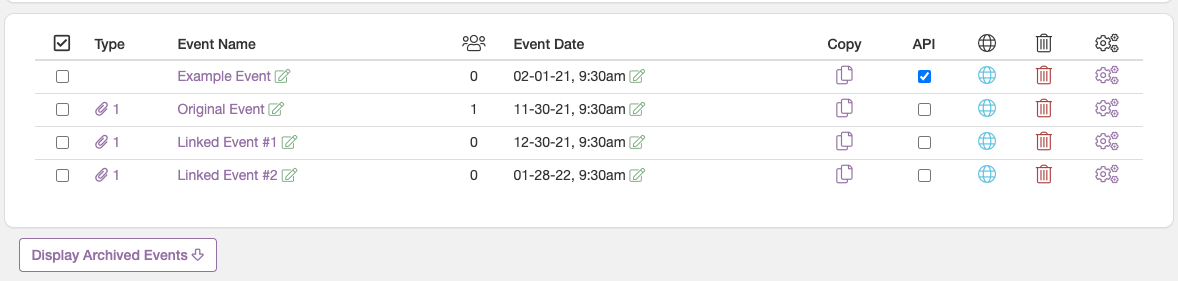
When linking existing events in your My Events page, select them and then click the Link Button (). Following are the possible outcomes:
- Selecting any event with a link number and any event(s) without link number(s): result: events without link numbers are given the same number as the currently linked events
- Selecting any number of events without link numbers: result: all events are assigned a new, currently unused link number
- Selecting any number of events with existing different link numbers (e.g. one event with link #1 and one event with link #2) (also plus any events without link numbers): result: all selected events are assigned a new currently unused link number.
To unlink any event from its Link Group, select it via its checkbox and then click the Unlink button () in the toolbar
Can I delete events I've created?
You can delete events temporarily or permanently.
To delete an event, click the trash can icon at the end of that event's row in your My Events page. This will display the Delete Event modal.
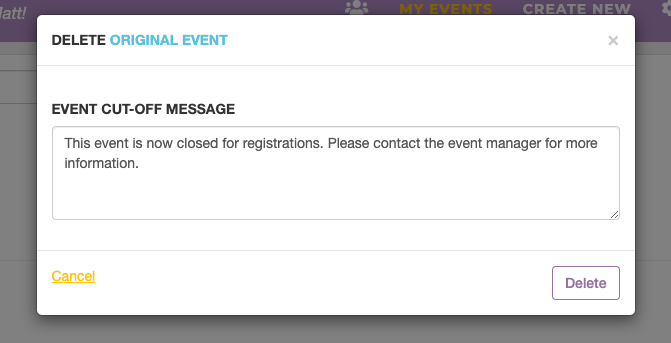
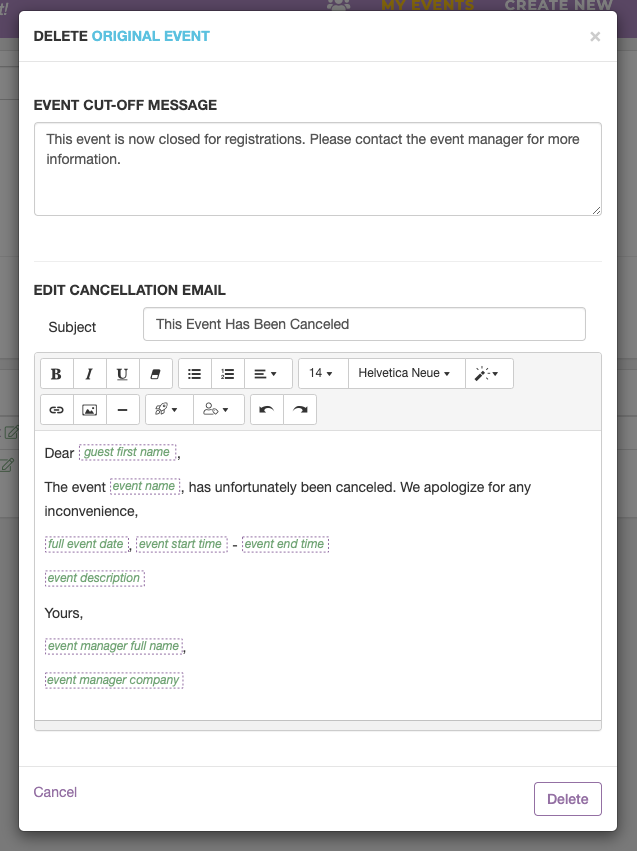
Before you delete the event, you are prompted to check / edit the event cut-off message. This is the message that is displayed to people who may still try to register for the event from invites you may already have sent out, or at registration page links you may already have published or distributed.
If you delete an event to which guests have already been confirmed, you are in effect cancelling an event. Therefore the Delete Event modal will also contain a cancellation email for you to edit, which Seatrobot sends automatically to all the confirmed guests in that event. You can customize this cancellation email as you would any other event email.
I deleted an event by mistake - can I restore it?
Events you have deleted are not active and cannot accept registrations. They no longer appear in your My Events page list. However, you can restore any deleted event by clicking on the empty trash can icon in the tool bar. This will launch the Deleted Events modal.
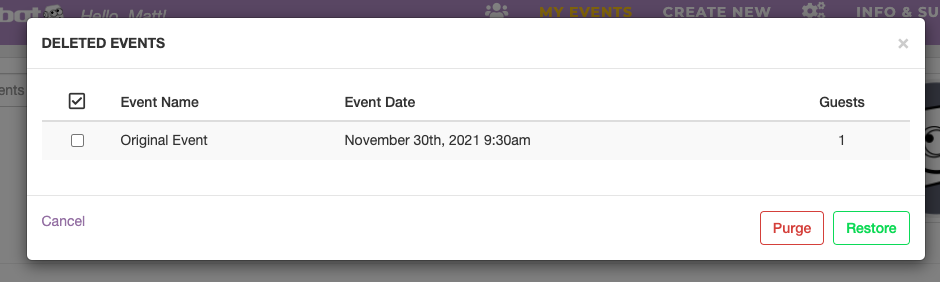
Select the checkbox next to any event you want to restore and click the Restore button. This will return the event to the active events list, retaining any previously confirmed guests.
Note: when you restore an event, any guests who were confirmed and informed when you deleted it will NOT be automatically informed the event has been restored. Use the Custom Email function inside the event to send out relevant communications.
To remove an event permanently from your system, select the Purge button instead. This will permanently erase the event and all its details and data from the system and cannot be undone.